- Choose the right space: Select a well-lit, clutter-free area with enough room for movement and a simple background to highlight your baby bump.
- Declutter and organize: Remove distractions, tidy surfaces, and add minimal decor to create a clean, comfortable, and photogenic environment.
- Use flattering lighting: Maximize natural light, use reflectors or soft artificial lights if needed, and experiment with angles to enhance your features.
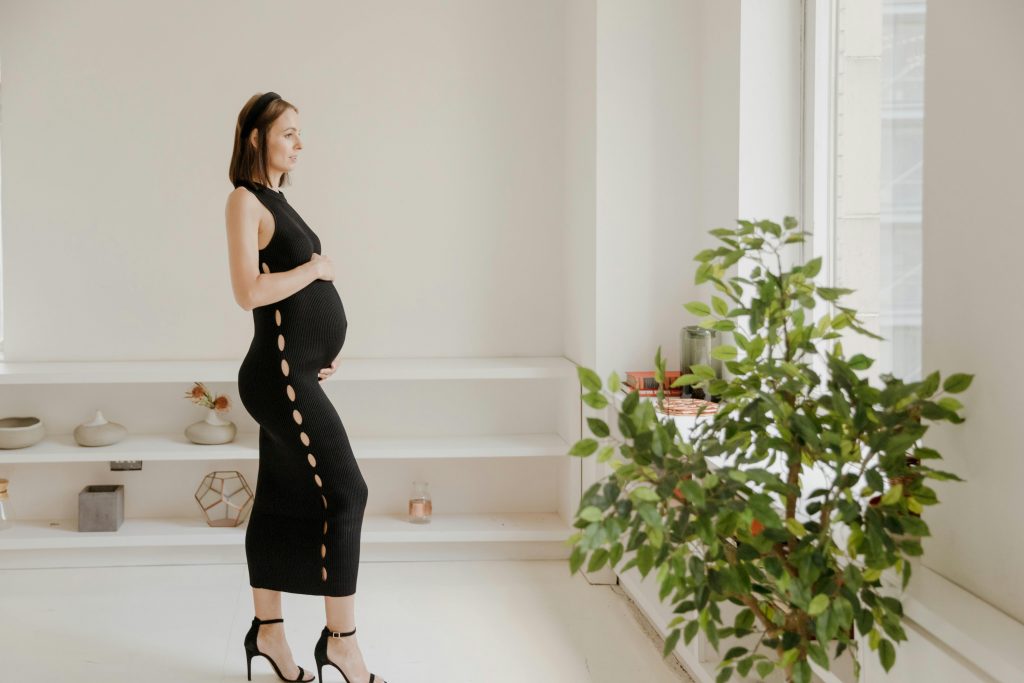
- Plan outfits and props: Wear comfortable, flattering clothes that highlight your bump, and use meaningful props without overcrowding the scene.
- Capture angles and emotion: Experiment with different camera perspectives, include candid moments, and focus on facial expressions and body language for authentic photos.
- Prepare and schedule: Plan your shoot schedule, gather all equipment, allow breaks for comfort, and edit photos carefully for the best results.
Capturing the beauty and excitement of pregnancy at home is a wonderful way to create lasting memories. A DIY maternity shoot gives you the comfort of your space while allowing for personalized touches that professional studios might not offer. But preparation is key. From lighting to props, the details you consider beforehand can make all the difference in your photos. Here’s a comprehensive guide to preparing your home for a DIY maternity shoot.
Why Choose a DIY Maternity Shoot at Home?
There are several reasons why a home-based maternity shoot is a great option:
- Comfort and privacy: You can relax in your own space without worrying about other people or public settings.
- Personalized environment: Your home tells a story about your life, adding warmth and authenticity to your photos.
- Convenience: No travel is required, which is especially helpful during pregnancy.
- Cost-effective: A home shoot eliminates studio rental fees.
By choosing an at home maternity shoot, you also get more flexibility in timing and setup, which can make the experience more enjoyable.
How Do You Choose the Right Space in Your Home?
Selecting the perfect space in your home is one of the most important steps for a successful DIY maternity shoot. The right area sets the tone, controls lighting, and provides a comfortable backdrop for your photos. Here’s what to consider in more detail:
Natural light:
Natural lighting is usually the most flattering for maternity photos because it creates a soft, glowing effect. Look for rooms with large windows, glass doors, or skylights. Morning or late afternoon light is ideal because it’s warm and diffused, while midday sunlight can be too harsh and create unwanted shadows. If your home doesn’t have ample windows, consider positioning your setup near a bright corner or using sheer curtains to soften direct sunlight.
Space for movement:
Pregnancy photos often involve a variety of poses—standing, sitting, leaning, or even lying down. Make sure the room has enough open space to move around without bumping into furniture. Consider temporarily shifting or removing chairs, coffee tables, or rugs to give yourself more flexibility for posing and camera angles.
Background simplicity:
A clean, uncluttered background keeps the focus on you and your baby bump. Remove items like laundry, piles of books, or miscellaneous decor that could distract from the subject. Neutral walls, simple furniture, or soft fabric backdrops work best. If your home is full of bold colors or patterns, try adding a plain sheet, curtain, or blanket behind you to create a calm, cohesive look.
Accessibility:
Comfort is key, especially during the later stages of pregnancy. Choose a space that’s easy to access, doesn’t require climbing stairs or navigating obstacles, and allows you to sit or rest between poses. Ensuring comfort reduces fatigue and stress, helping your photos look relaxed and natural.
Popular areas:
Some rooms naturally lend themselves to maternity shoots. Bedrooms offer cozy, intimate vibes; living rooms give more space and variety; nurseries provide a sentimental backdrop for baby-themed photos; and sunrooms or porches can capture bright, airy lighting. Think about which area best matches the mood you want for your shoot and where you feel most at ease.
How to Declutter Before a DIY Maternity Shoot
A cluttered environment can distract from your maternity glow. Here’s a quick decluttering guide:
- Remove personal items: Take away laundry, dishes, or everyday objects that might appear in the background.
- Organize furniture: Rearrange furniture for better angles and clear pathways.
- Tidy surfaces: Clear tables, shelves, and counters to create a clean, minimalistic backdrop.
- Add subtle decor: Include simple accents like plants, cushions, or blankets, but avoid overcrowding.
Decluttering not only improves aesthetics but also makes you feel more relaxed during the shoot.
What Lighting Should You Use for a DIY Maternity Shoot?
Lighting can dramatically affect the mood, tone, and quality of your maternity photos. Even simple lighting adjustments at home can make your images look professional. Here’s a detailed breakdown:
Natural light:
Soft, natural light is ideal for maternity photography. Position yourself near a window with indirect sunlight to create a gentle, flattering glow. Avoid direct sunlight hitting your face or body—it can cause harsh shadows and make it difficult to capture even skin tones. Sheer curtains or white sheets can diffuse strong light and create an elegant, soft effect.
Reflectors:
If one side of your face or body appears too shadowed, you can bounce light back using a reflector. A professional reflector is great, but household items work too—try a white foam board, poster board, or even a large piece of aluminum foil covered with white fabric. Position it opposite the window to reflect light evenly onto your subject.
Artificial lighting:
If your chosen room doesn’t get enough natural light, consider using soft, adjustable artificial lights. Softbox lights or ring lights provide consistent, diffused illumination that mimics natural light. Position them slightly above eye level to avoid unflattering shadows and ensure your skin tone appears natural.
Experiment with angles:
Don’t stick to just one lighting angle. Side lighting can create depth and a gentle sense of contour around your bump, while front lighting evenly illuminates your features. Top-down lighting can work well for seated or lying poses. Experiment with different angles before starting the shoot to find the most flattering effect for your space.
Consider the mood:
Lighting also affects the mood of your photos. Soft, diffused light feels intimate and romantic, while slightly stronger directional light adds drama and highlights textures. Think about the emotional tone you want to capture and adjust your lighting accordingly.
Check for shadows:
Even with soft light, shadows can appear on walls or furniture. Adjust your positioning, move the light source, or use a reflector to reduce harsh shadows and maintain a clean, professional-looking image.
What Outfits Work Best for a DIY Maternity Shoot?
Choosing the right outfit is key to looking and feeling confident:
- Fitted dresses or gowns: Highlight your baby bump with flowing or body-hugging fabrics.
- Neutral colors: Whites, pastels, and soft tones work well with most home backgrounds.
- Texture and layers: Lace, knits, and wraps add visual interest without being distracting.
- Comfort: Avoid outfits that are too tight or uncomfortable, as this can affect your poses and expressions.
Many moms also love coordinating with partners or siblings for matching or complementary outfits.
How to Select Props for a DIY Maternity Shoot
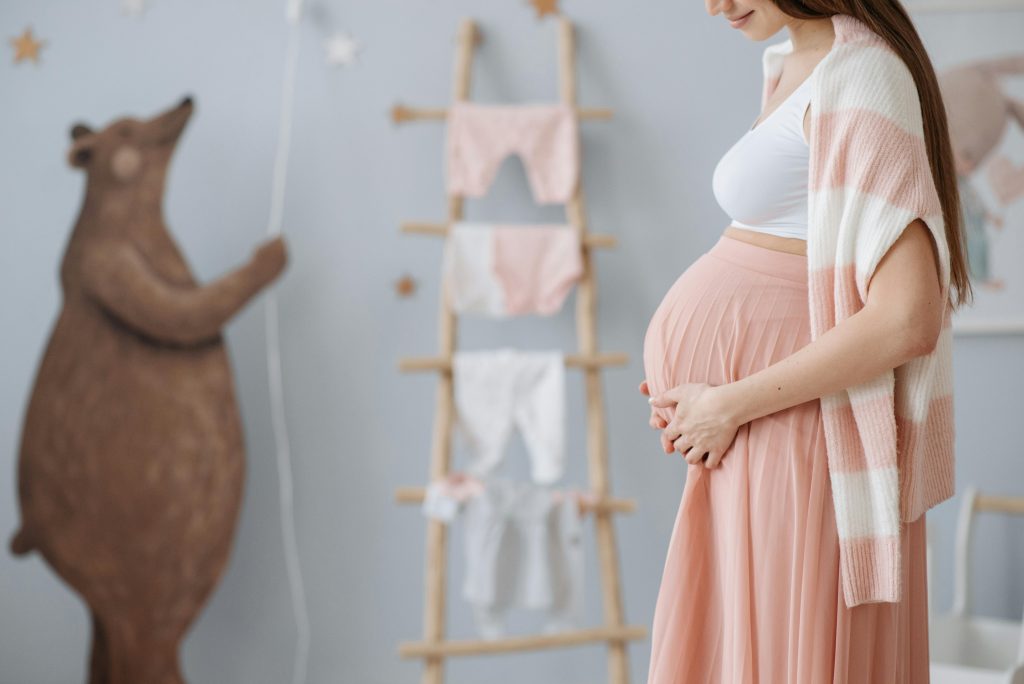
Props can personalize your shoot but should enhance, not overwhelm:
- Baby shoes or clothes: Tiny items create meaningful details.
- Ultrasound photos: Capture a moment from your pregnancy journey.
- Floral arrangements: Soft flowers add color and elegance.
- Furniture pieces: Chairs, benches, or swings provide natural posing options.
Keep props minimal and meaningful, making sure they don’t clutter the frame.
How to Capture the Best Angles
Angles can dramatically change the look of your photos:
- Eye-level shots: Keep the camera at your eye level for a natural perspective.
- Low angles: Shooting slightly from below can emphasize your belly beautifully.
- Overhead shots: A top-down view works well when lying on a bed or couch.
- Close-ups: Focus on hands, belly, or facial expressions for intimate details.
Experiment with different angles and review photos during the shoot to adjust as needed.
How to Prepare Your Hair and Makeup
Looking and feeling your best enhances confidence:
- Natural makeup: Soft, natural tones usually photograph best.
- Hair: Ensure it’s neat and styled in a way you like; consider soft waves or simple updos.
- Hydration: Moisturize your skin to prevent dryness under camera lights.
- Touch-ups: Keep a small kit nearby for quick fixes during the shoot.
Even minimal effort can produce beautiful, flattering results.
What Equipment Do You Need for a DIY Maternity Shoot?
You don’t need professional gear to get great shots:
- Camera: A smartphone with a good camera or a DSLR works well.
- Tripod: Stabilizes your camera for sharper images and hands-free shots.
- Lighting: Natural light is ideal, but softbox or ring lights help in darker areas.
- Props and backdrops: Minimalist furniture, blankets, and meaningful props.
- Editing apps: Post-processing tools can enhance lighting, colors, and sharpness.
Even simple setups can produce beautiful results with careful planning.
How to Edit Your DIY Maternity Photos
Editing brings out the best in your images:
- Crop and straighten: Adjust framing for better composition.
- Adjust exposure and contrast: Enhance brightness and reduce shadows.
- Color correction: Ensure skin tones look natural and backgrounds are balanced.
- Retouching: Minimal editing to smooth skin or remove distractions.
Use apps like Lightroom, Snapseed, or Photoshop for simple, effective edits.
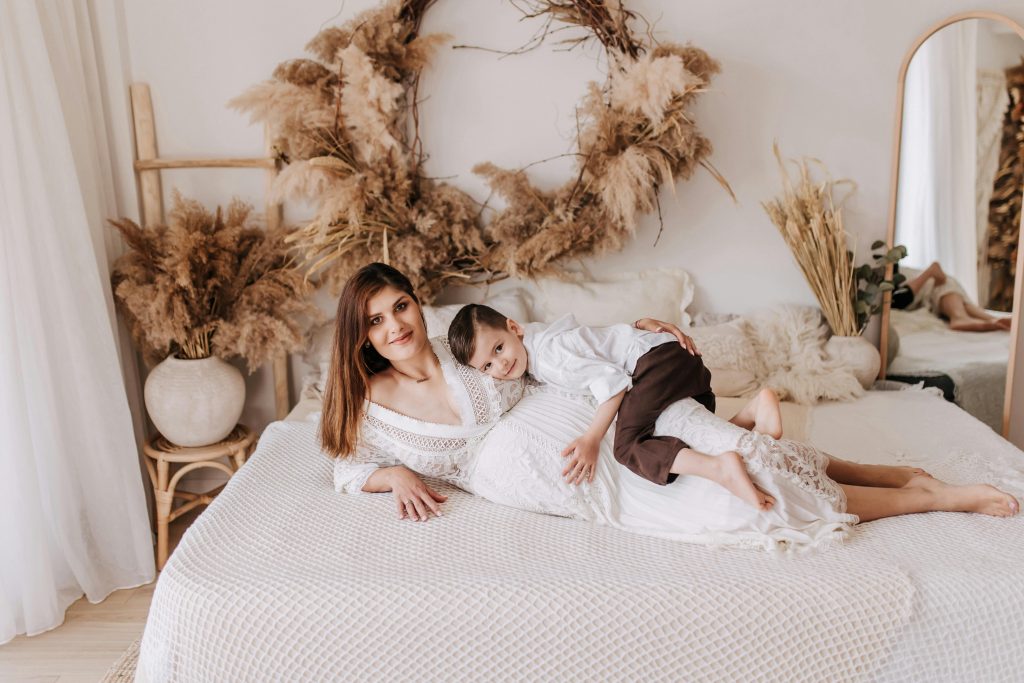
How to Capture Emotion and Personality
The best maternity photos reflect your unique story:
- Facial expressions: Smile naturally or try thoughtful, serene expressions.
- Body language: Relax your shoulders and hands for a natural look.
- Candid moments: Capture interactions with your partner, kids, or pets.
- Storytelling: Use props or settings that reflect your personality and lifestyle.
Your emotions and personality bring depth to your photos and make them memorable.
How to Plan the Perfect DIY Maternity Shoot Schedule
A well-planned schedule keeps the shoot organized:
- Morning prep: Declutter, set up lighting, and gather outfits and props.
- Shoot time: Plan for 1–2 hours depending on how many setups you want.
- Breaks: Include small breaks to rest, hydrate, and change outfits if needed.
- Editing: Schedule post-processing time after the shoot to review and enhance your photos.
A structured approach minimizes stress and maximizes results.
In a Nutshell
Preparing your home for a DIY maternity shoot may feel like a lot, but thoughtful planning creates a fun and stress-free experience. From choosing the right space and lighting to selecting outfits and props, each detail contributes to beautiful, lasting memories. With preparation and creativity, your DIY maternity shoot will result in stunning, heartfelt photos you’ll treasure forever.